Note: If the automatic login is enabled, you'll no longer need to enter a password after starting the computer. For security reasons, it's recommended to use a password, which must be entered to log in. If you still want to enable the automatic login for a specific user, follow these instructions.
This tutorial was last checked and updated on April 3, 2023.
Enable automatic login
-
Press Windows Key + R and type
netplwizin the text box of the "Run" window, which has just opened. Then press Enter.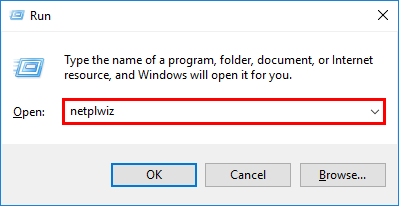
-
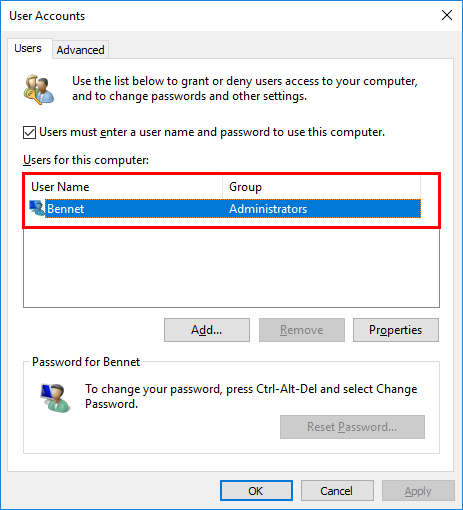
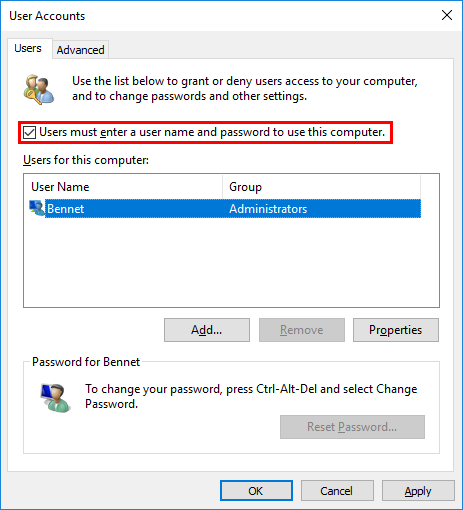
Now the "User Accounts" window appears. Under "Users for this computer", select the user you want to be automatically logged in when you start the computer.
-
Uncheck the checkbox "Users must enter a user name and password to use this computer" above the user list.
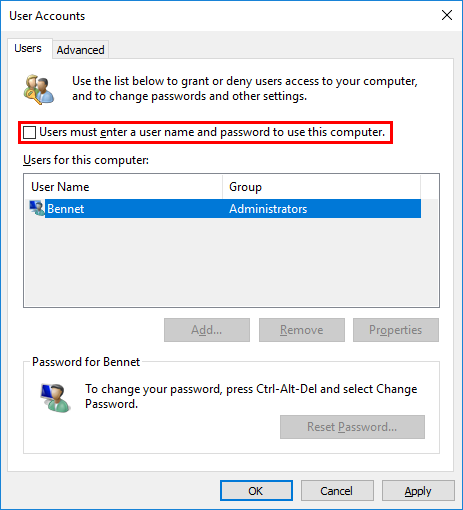
- Next, click on the "Apply" button.
-
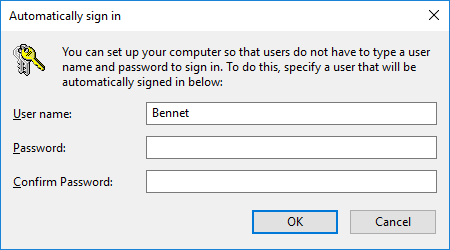
A window with the title "Automatically sign in" opens. For security reasons, you'll now need to enter this user's password twice. Then click on "OK".
- Close the "User Accounts" window by clicking on "OK" again. The automatic login is now enabled.
Disable automatic login
-
Press Windows Key + R and type
netplwizin the text box of the "Run" window, which has just opened. Then press Enter.
-
Now the "User Accounts" window appears. Check the checkbox "Users must enter a user name and password to use this computer" above the user list.
- Next, click on the "Apply" button.
- Close the "User Accounts" window by clicking on "OK". The automatic login is now disabled.